

There are lots of ways to host a web service.
You might want to rent a VPS, Dedicated Server, or embrace full serverless and write your application for a service like Cloudflare Workers
You might want to use Docker, k8s, LXD, or any other manner of deploying your services.
You might have a complex setup to proxy and serve traffic through your IP.
But sometimes you might not have it all figured out. You might want to run your service in your home on that one old laptop you have lying around, or you might be worried about forwarding your IP and connections to the world without properly securing them. Setting it all up sounds like a hassle, right?
This is where I believe a hidden gem of Cloudflare comes out to shine.
Cloudflare Tunnel is an extremely innovative product by Cloudflare to seamlessly protect your web server from ever being directly targeted or exposed, while still allowing you to host your applications like normal.
Ensure your server is safe, no matter where it’s running: public cloud, private cloud, Kubernetes cluster, or even a Mac mini under your TV.
~ Cloudflare
Even with the best firewall in the world, you still have machines exposed to the public Internet.
But what if you could host a web service with no ports exposed? Well, you can! Cloudflare Tunnel makes a persistent outbound connection (a tunnel!) between your server and Cloudflare's nearest datacenter. All the traffic to your domain flows through this outgoing tunnel and connects to your server through the protection of Cloudflare. This also has the benefit of being seamlessly encrypted, so you don't have to worry about a thing when it comes to the security of your web service.
If you, like me, think that sounds amazing, read on to get started creating your own tunnel.
Getting started
Note: There is now an easier way to create and manage tunnels through the Cloudflare Zero Trust dashboard.
You can check out how to do that on the Cloudflare developer documentation.
For this walkthrough I will assume you are on a Linux-based operating system. For testing I used Ubuntu 20.04. Some things may vary if you have a different system, though on Debian at least it should be the same.
This walkthrough also assumes that you have a Cloudflare account with a domain on it already, if you don't have one then you should add one and return here!
I also asssume a small level of technical and command-line ability, but it isn't anything overlay daunting so feel free to give it a go regardless! I'm in the comments if you get stuck!
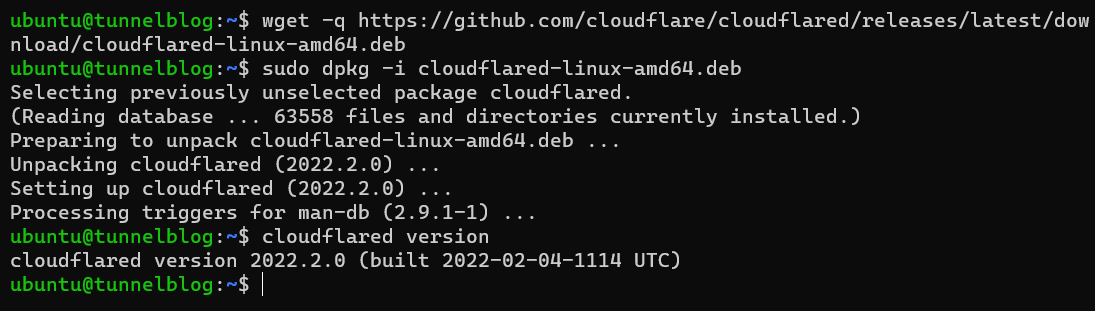
First things first, you'll need to download cloudflared, the command-line client for interacting with Cloudflare Tunnels. The official documentation is a bit better at explaining this than I am, but for a x86_64 Ubuntu machine you would do the following:
$ wget -q https://github.com/cloudflare/cloudflared/releases/latest/download/cloudflared-linux-amd64.deb$ sudo dpkg -i cloudflared-linux-amd64.deb
Then, you can verify your installation by issuing cloudflared version and observing the recent version given!
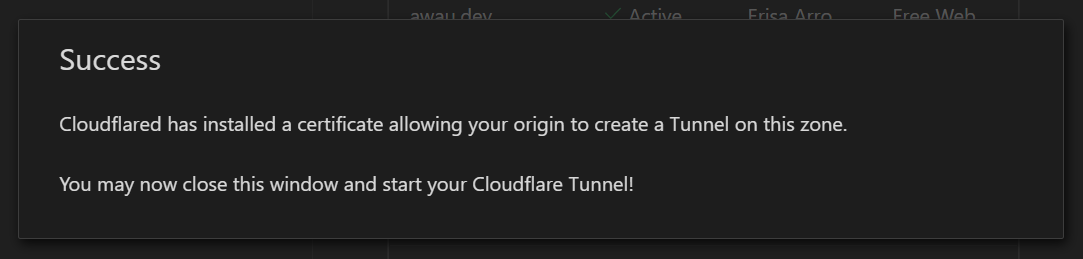
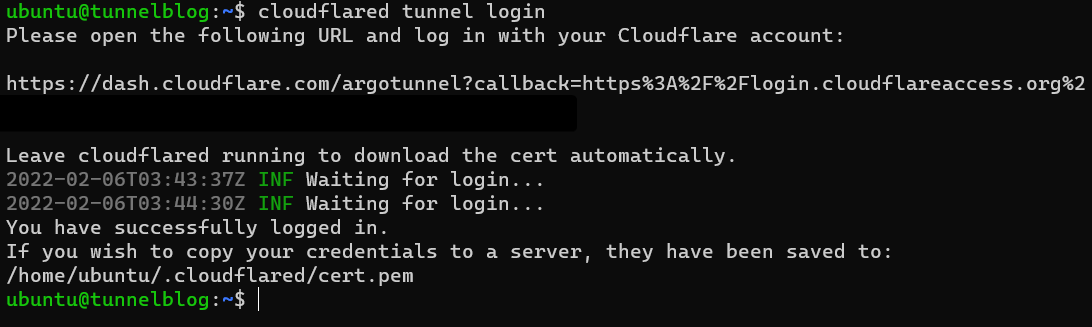
Now that you have the client running, you need to authorize with your Cloudflare account:$ cloudflared tunnel login
This will give out a URL that you can visit to authorise yourself. While it isn't 100% vital that you select the right domain at this stage, I would recommend choosing one that you would like to try out a tunnel on. You can run the tunnel on any subdomain or domain later down the road.
For this example I picked erisa.dev and I am now logged in!
After logging yourself in, you can now get started creating tunnels!
$ cloudflared tunnel create mytunnel
You can name it whatever you want, in this case I chose mytunnel as my tunnel's name.

After issuing this command you're going to get two important pieces of information: the file path to a .json file containing the tunnels credentials, and an ID for tunnel. In this case I have a tunnel with an ID of ed5bfe16-cb5f-449c-b2e9-7c300b749c79 and the credentials are stored at /home/ubuntu/.cloudflared/ed5bfe16-cb5f-449c-b2e9-7c300b749c79.json.
Keep this information to hand, because you will need it in a minute!
At this point, you could happily go ahead and configure a tunnel with your own user account and run it with $ cloudflared tunnel run mytunnel however the best practise would be in setting up a systemdservice for your tunnel from the beginning. So this is what I will be instructing!
First, we need a directory to store the config:
$ sudo mkdir -p /etc/cloudflared
Then, we can get started creating a configuration file!
The file we're going to create is /etc/cloudflared/config.yml and you can use any editor you please! For example you could do
$ sudo nano /etc/cloudflared/config.yml
Once in the file, we need to put the basic pieces together.
The first thing you will want to specify is the tunnel ID and the location of the credentials file. These are the same things we noted earlier!
Using mine as an example, it should be formatted like this:
tunnel: ed5bfe16-cb5f-449c-b2e9-7c300b749c79
credentials-file: /home/ubuntu/.cloudflared/ed5bfe16-cb5f-449c-b2e9-7c300b749c79.json
And with that out of the way, we can now configure what the tunnel will serve, hurray!
To continue following through with this tutorial you will need something to host.
If you don't have any web services running already, you can run a test webserver in a few ways:
You can serve the contents of a directory with Python:
$ python3 -m http.server 8000 --directory ./test
Make sure you pick a directory you don't mind making public
This will run a web server on port 8000, so make sure to pay attention and change the port below!
Or you can instead install a full webserver like Nginx:$ sudo apt install nginx
On Debian and Ubuntu, this will cause the Nginx webserver to run on your machines port 80 immediately and on every boot.
There are two main ways to approach the ingress: part of the config.yml.
If you have only one service or want to route everything through your own existing webserver, you can do a single-service setup:
ingress:
  - service: http://localhost:80
You can change localhost to any IP and :80 to any port.
Or if you want to serve specific things on specific domains, you can do that as well:
ingress:
  - hostname: myapp1.examples.com
    service: http://localhost:8080
  - hostname: myapp2.example.com
    service: http://localhost:8081
  - service: http_status:404
You may have noticed I snuck in something new there. The bottom service (the one without a hostname) is serving http_status:404 which is a special instruction to make the tunnel serve a blank page if the domain given is not one that the config knows how to route. You could also put some kind of fallback application here, or whatever your heart desires!
However you like your ingress configured, hopefully you should have a complete file by now. For mine, I kept it simple:
tunnel: ed5bfe16-cb5f-449c-b2e9-7c300b749c79
credentials-file: /home/ubuntu/.cloudflared/ed5bfe16-cb5f-449c-b2e9-7c300b749c79.json

ingress:
  - service: http://localhost
With any luck, my tunnel should now serve my nginx running on the default port 80!
Since this is the first time doing this, I need to setup the systemd service.
To install the service:$ sudo cloudflared service install
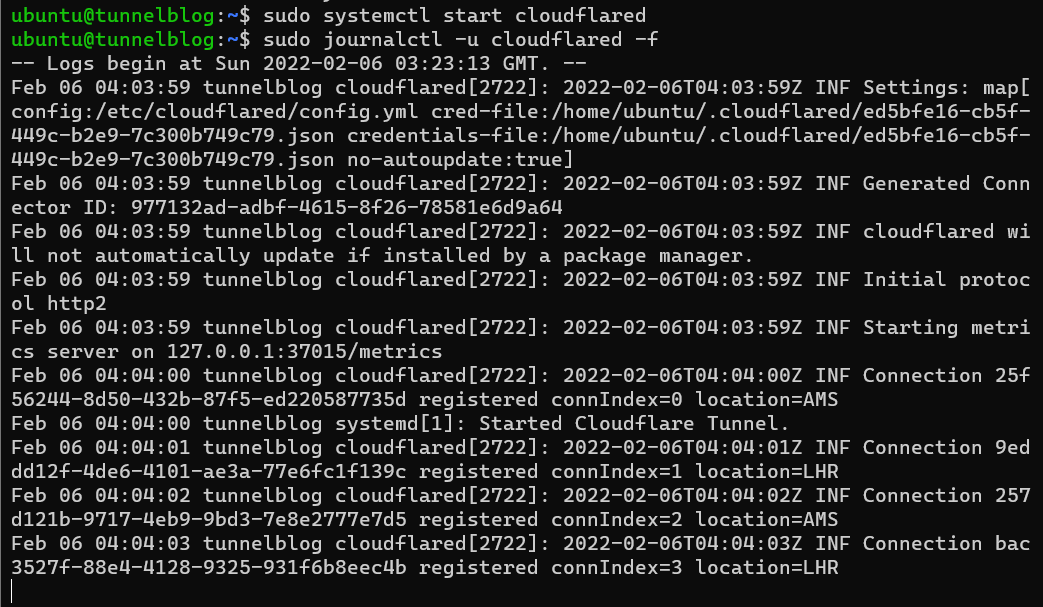
The two green INF lines are what you want to see after this:

And now you can control the service:
Start it: $ sudo systemctl start cloudflared
Enable it to run at boot: $ sudo systemctl enable cloudflared
Stop it: $ sudo systemctl stop cloudflared
Disable it running on boot: $ sudo systemctl disable cloudflared
To check the logs of the service once it's running, issue $ sudo journalctl -u cloudflared! To see the logs stream in realtime, add a -f to the command. You can Ctrl+C to stop the log streaming.
If it worked correctly, your tunnel should now be connected!
You can also check this on $ cloudflared tunnel info mytunnel which will give you all the juicy information about your fresh new tunnel.

Now that your tunnel is connected, it's time to get it routing!
There are two main ways to create the required DNS records for a tunnel.
- You can make
cloudflareddo for it for you. As long as the domain you want to route is a subdomain of the one you selected right at the beginning, you can issue$ cloudflared tunnel route dns mytunnel test.example.comand it will make the record for you! - If you find yourself needing to do this yourself, on the Cloudflare dashboard you can create a
CNAMErecord pointing tomyuuid.cfargotunnel.comwheremyuuidis the ID of your tunnel!
For example I would add aCNAMEfromtest.erisa.devtoed5bfe16-cb5f-449c-b2e9-7c300b749c79.cfargotunnel.comfor my setup.

Give the DNS a few seconds to update, and with any luck...
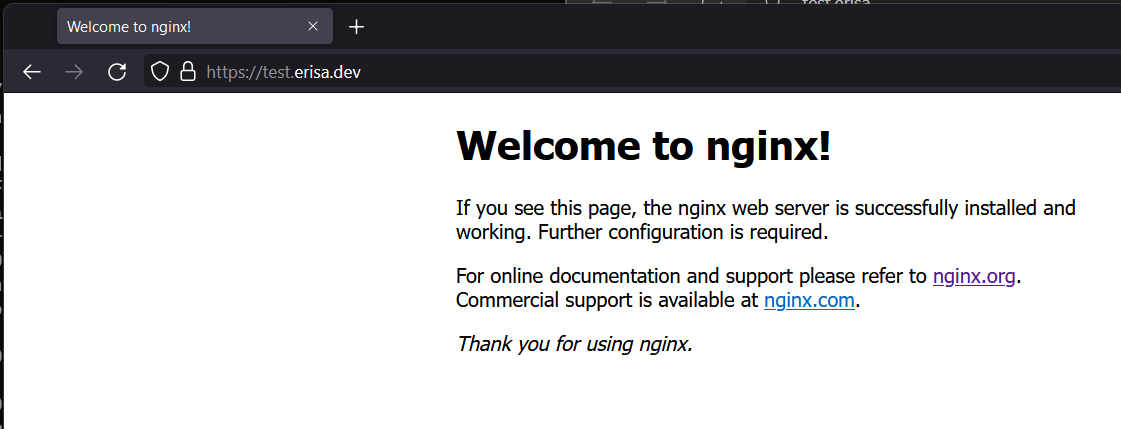
It works! My Nginx process running on my local machine is now publicly accessible through the tunnel. No port forward headache, no complex configuration. Just a short config.yml and the Cloudflare network!
Wrapping up
At this point you can iterate as much as you like. Add ingress rules, experiment with more tunnels on different machines, even the same tunnel on different machines!
For this, I recommend checking out the official documentation.
Hopefully my little guide helped at least one person. If you have any comments or suggestions feel free to drop them below. ❤️